Use an image file.
Secure Photo Blur works with common image files. Use it for photos, screenshots, exported receipts, profile images, or UI captures.
Supported now
.png,.jpg,.jpeg, and.webpfiles.- Photos from your camera roll.
- Screenshots from your desktop or phone.
- Images copied to your clipboard.
Convert first
- PDFs, HEIC/HEIF files, SVGs, and videos.
- Web links or cloud-drive links.
- Zip files or folders.
- Batches of images. Edit one image at a time.
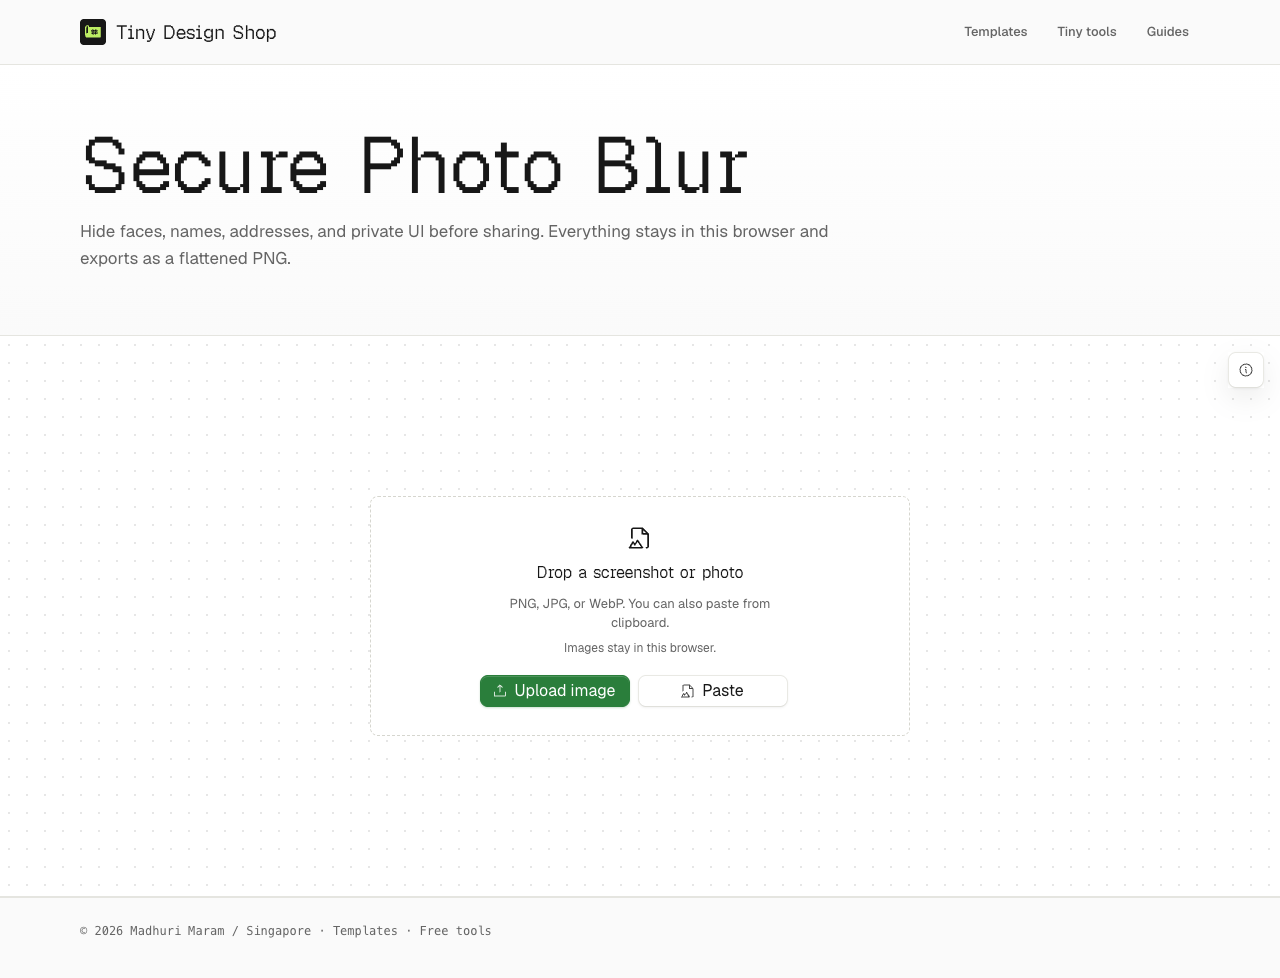
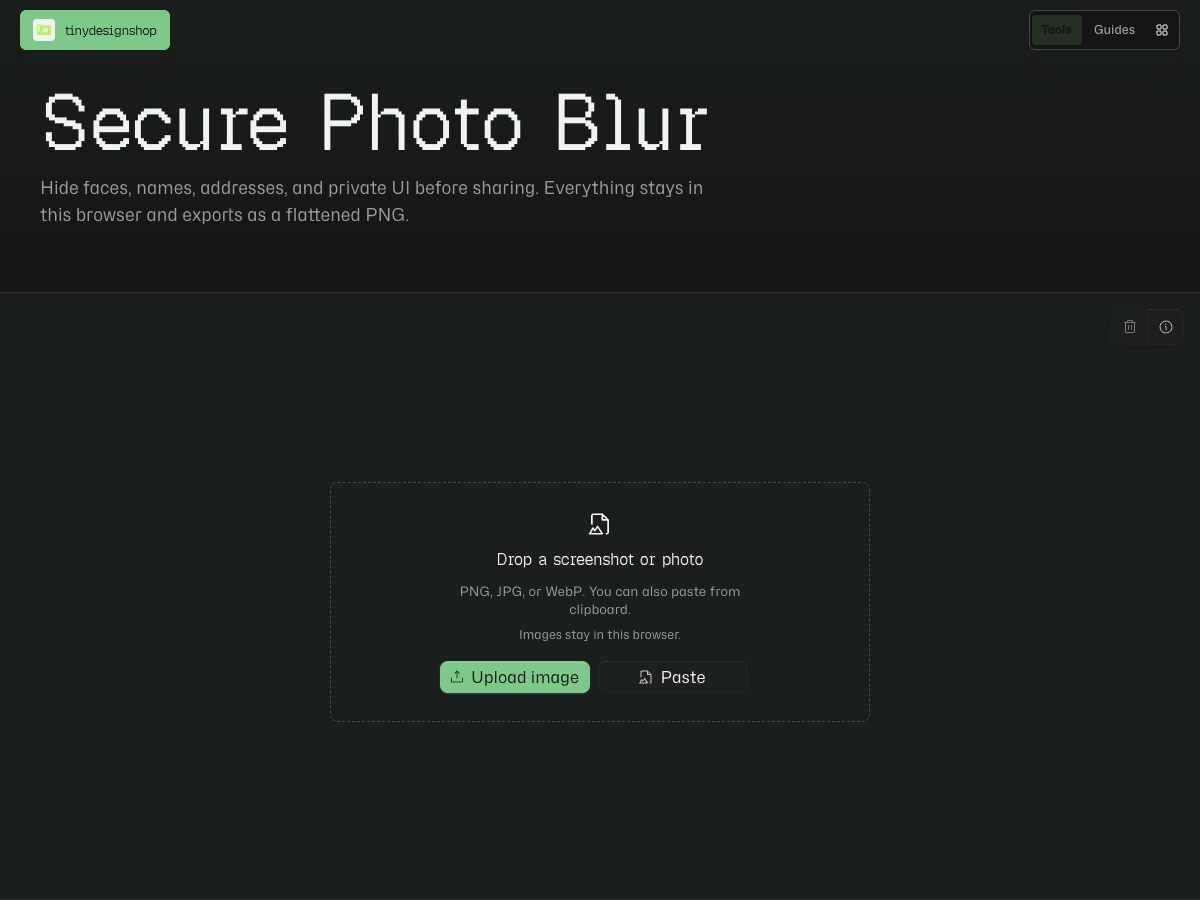
Blur the parts you want to hide.
- Open Secure Photo Blur.
- Upload, drop, or paste an image.
- Choose Rectangle or Circle blur after the image loads.
- Drag over faces, text, passwords, addresses, or anything else you do not want visible.
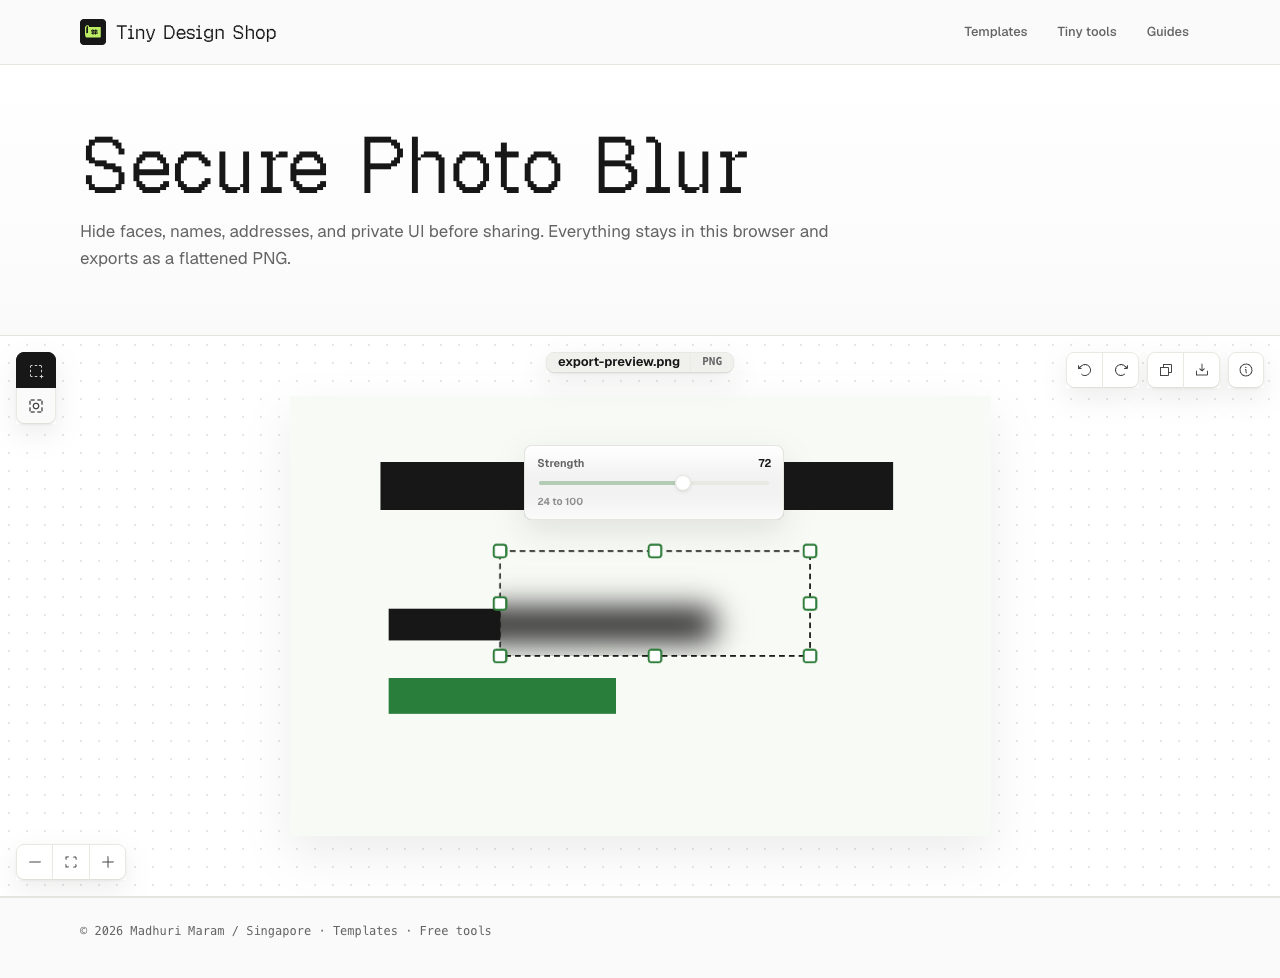
- Select a region to move it, resize it with handles, or adjust its strength.
- Use undo or reset if you need to fix a region.
- Copy the flattened image or download it as a PNG.
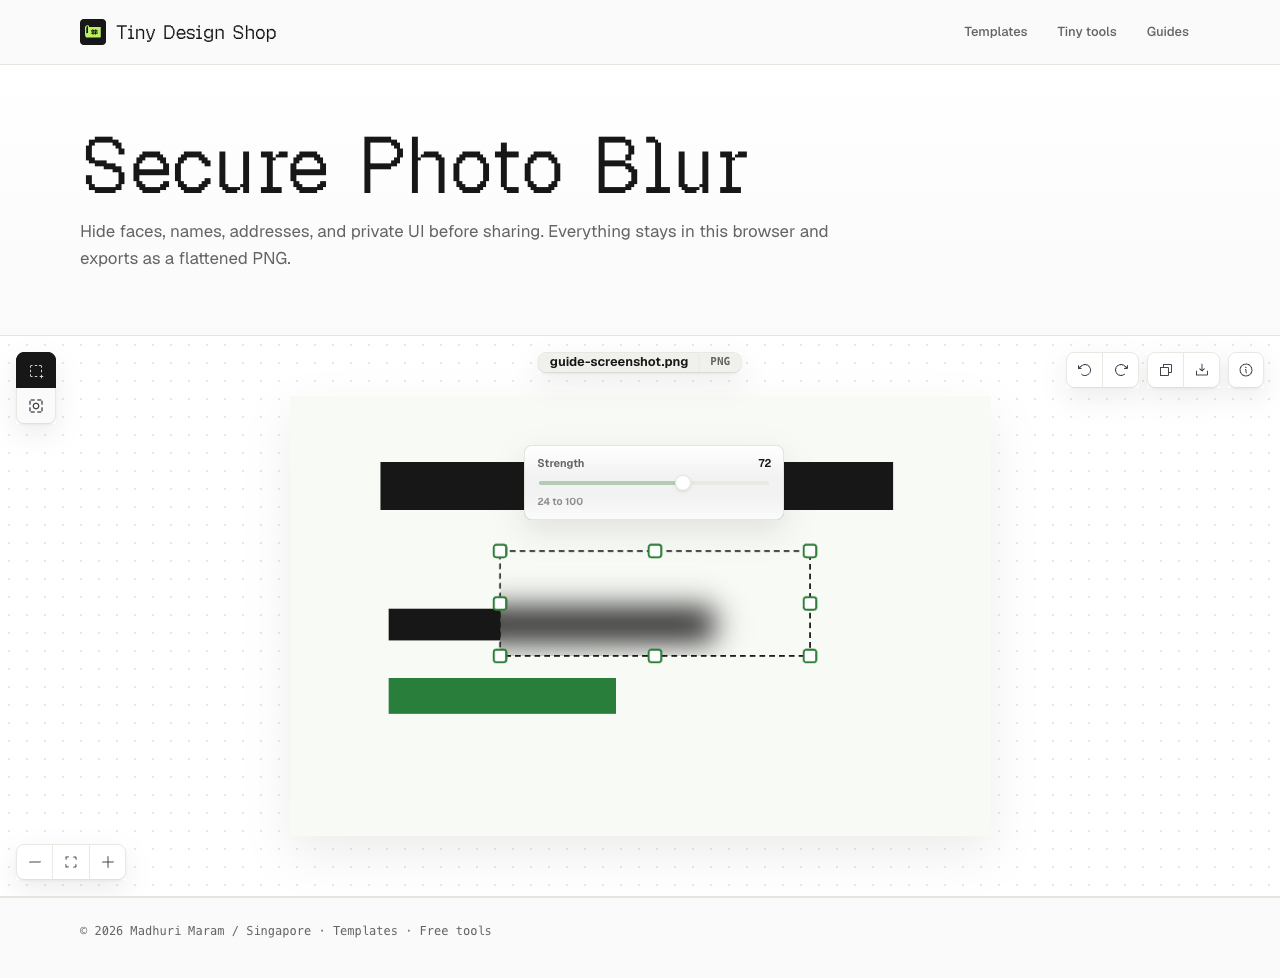
Choose the shape that fits the detail.
Use Rectangle for text blocks, addresses, and interface details. Use Circle for faces, profile photos, or round objects.
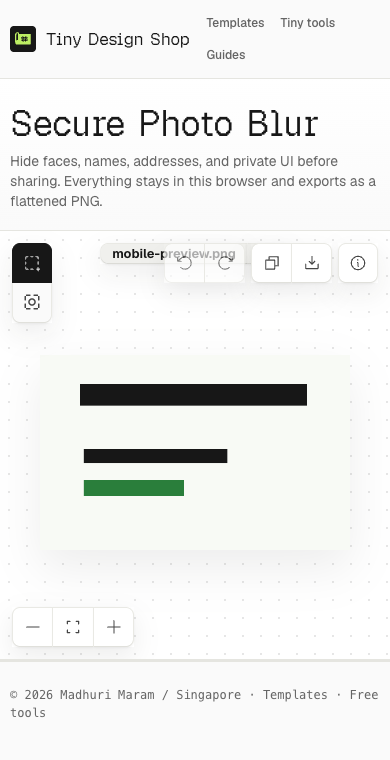
Copy or download a flattened result.
Copy Image places a flattened PNG on the clipboard when the browser supports image copy. Download PNG saves a new image with the blur baked into the pixels. Keep the original file if you may need an unblurred copy later.
-secure-blur added.If something looks off.
- If the file does not load, convert it to PNG, JPG, or WebP first.
- If a blur misses the edge, undo it and draw the region a little larger.
- If shape, zoom, copy, or download controls are missing, add an image first.
- If the strength control is missing, select a blur region.
- If clipboard paste does not work, use the upload button instead.
Your image is processed in the browser.
The tool does not upload the source image for server-side processing. The blur work happens in the browser canvas, and copy or download output is flattened from that canvas.