如何使用 Markdown to Image 將 Markdown 轉換為可分享的 PNG

將發佈說明、更新日誌和 README 片段轉換為樣式化 PNG 卡片,用於 Slack、社群貼文和文件 — 無需截圖或上傳。一切都在您的瀏覽器中執行。

PNG 優於 PDF 或貼上的時機。

Slack 討論串、LinkedIn 貼文和設計審閱通常需要視覺片段 — 而非檔案附件或原始 Markdown。Markdown to Image 將您的文字渲染為樣式化卡片,可貼到任何接受圖片的地方。

四種樣式主題控制預覽和 PNG 輸出的字體排版:Default、Serif、Mono 和 GitHub。下載前請選擇適合您頻道的樣式。
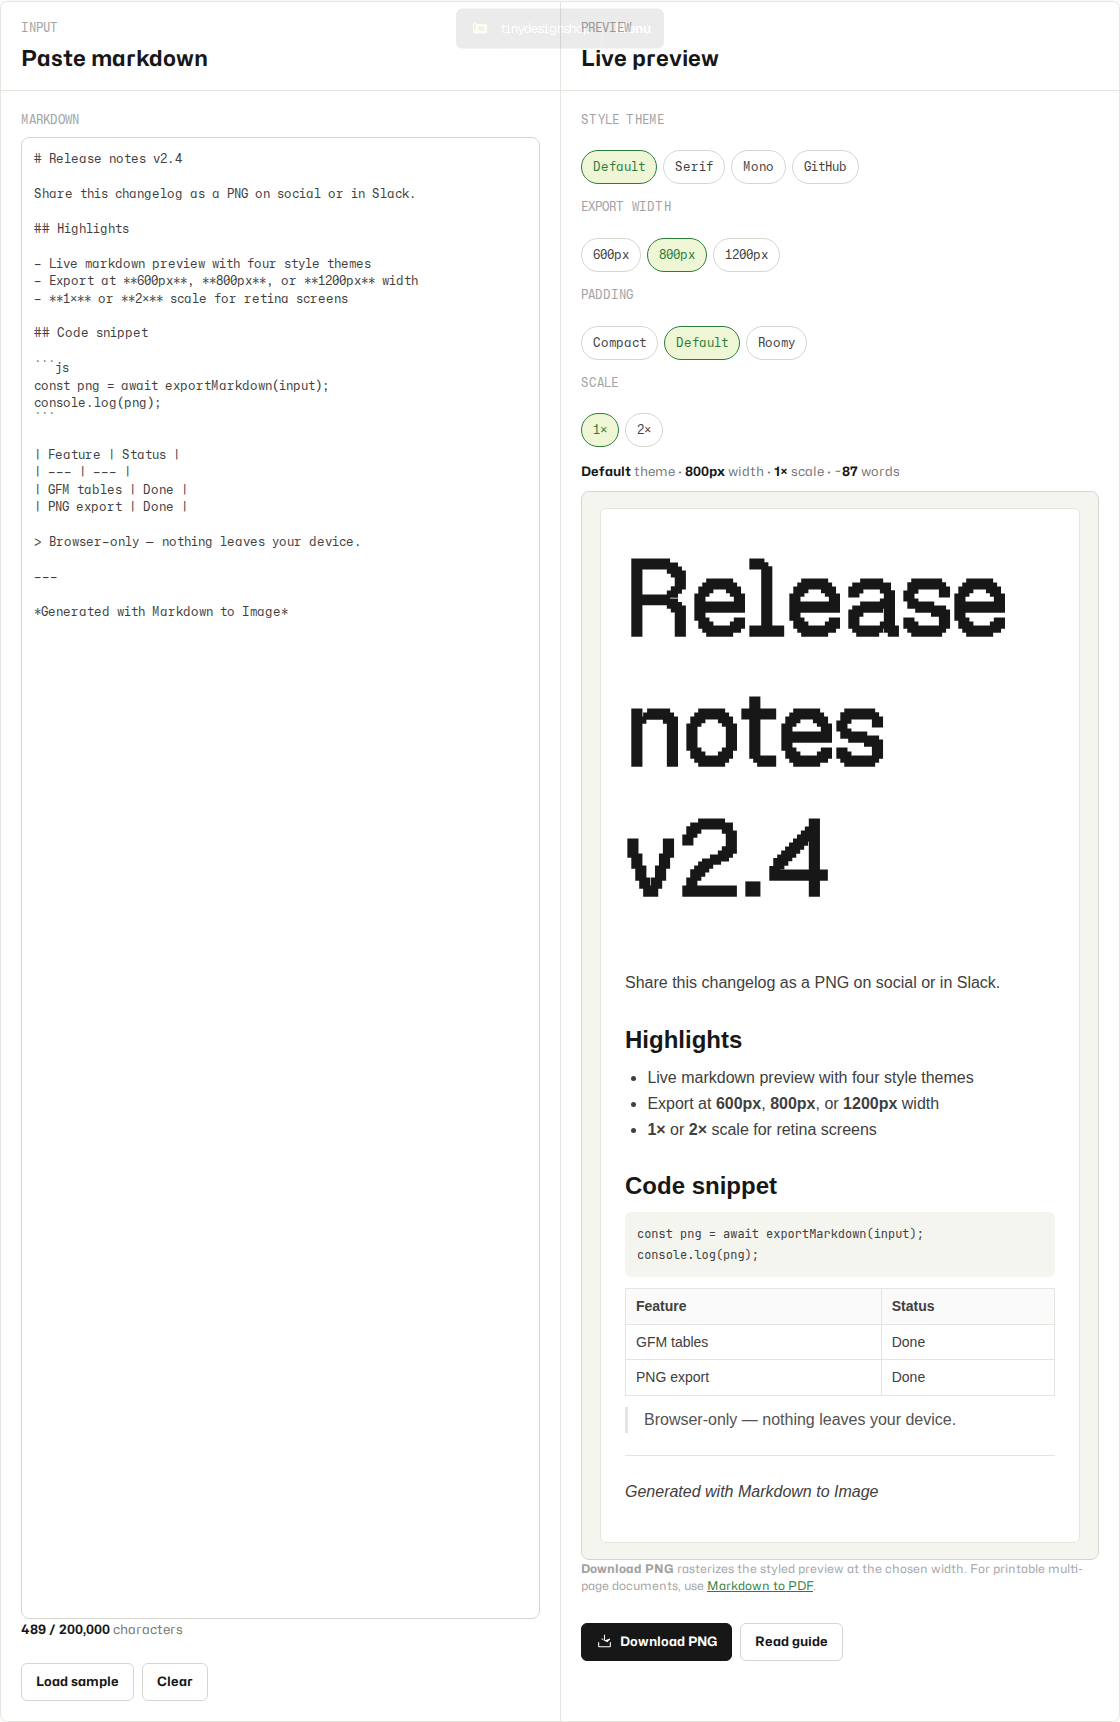
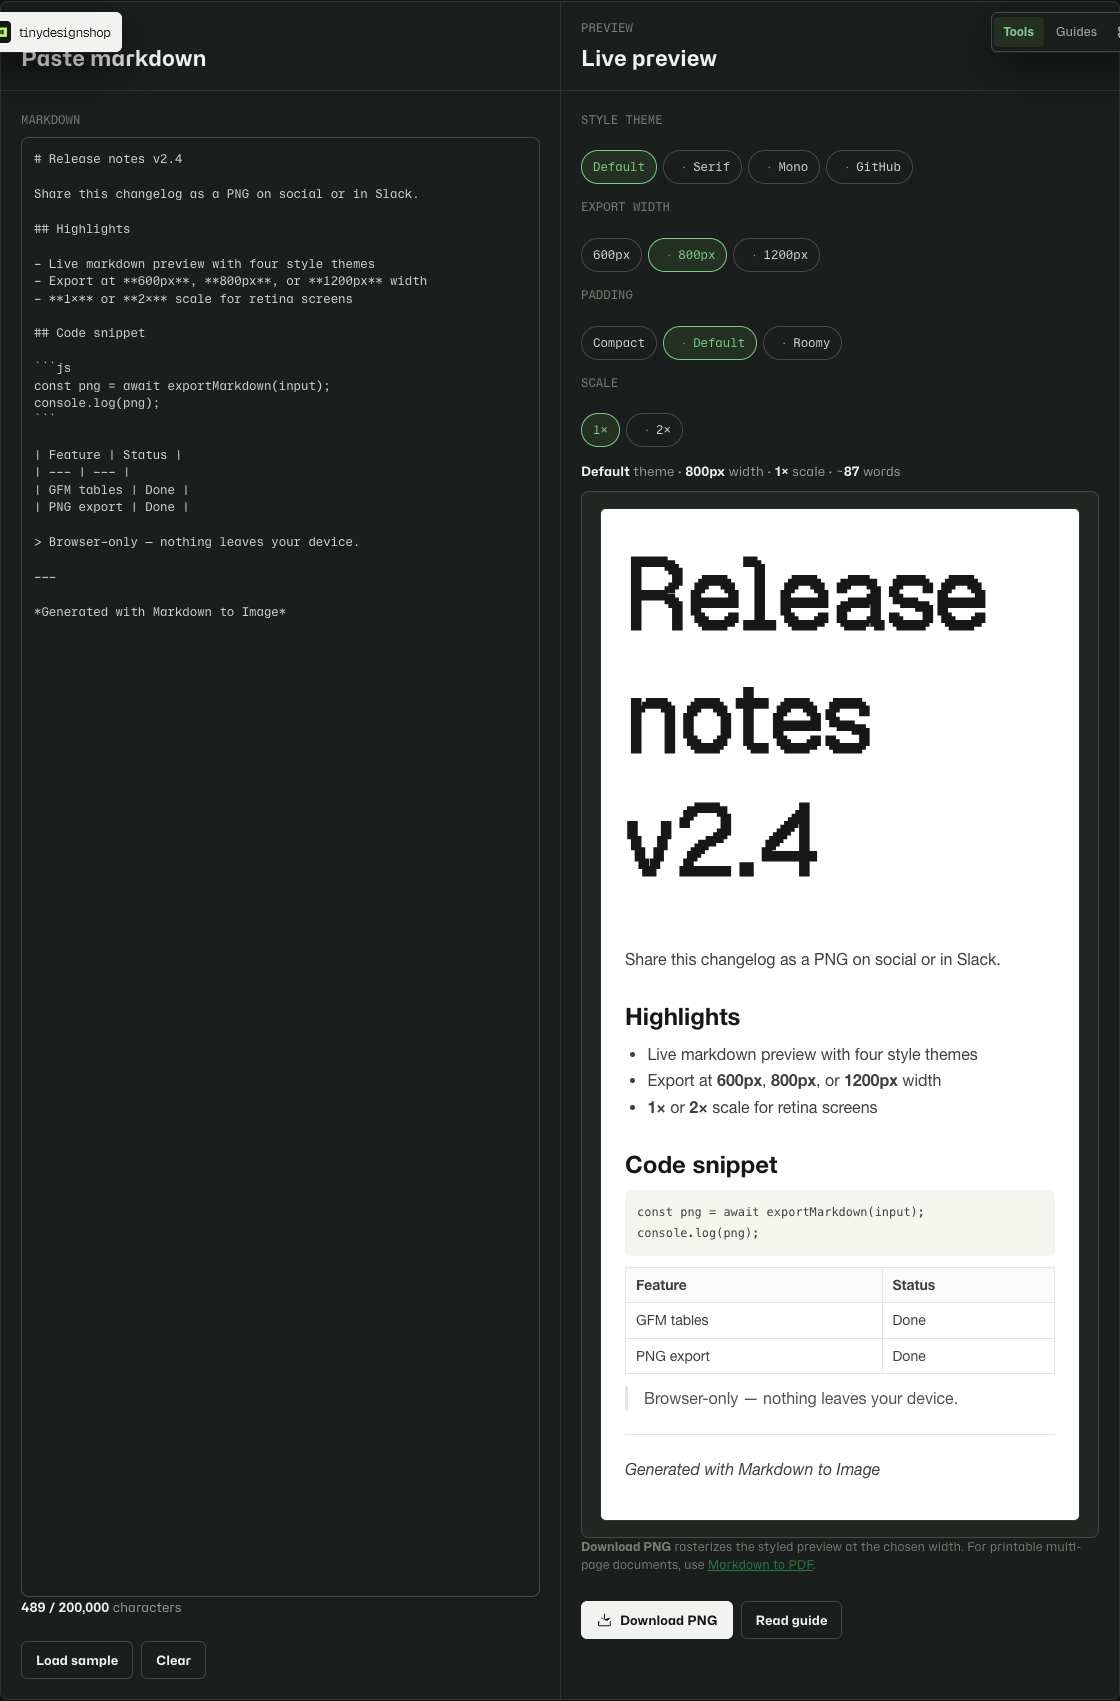
Markdown to Image empty dual-panel layout with markdown editor and preview
Paste markdown on the left; the live preview updates on the right.

一分鐘內完成轉換和下載。

  1. 開啟 Markdown to Image
  2. 在輸入面板中貼上或輸入您的 Markdown。
  3. 查看即時預覽,選擇樣式主題標籤,並選擇輸出寬度預設值。
  4. 點擊 Download PNG,從瀏覽器儲存點陣化圖片。
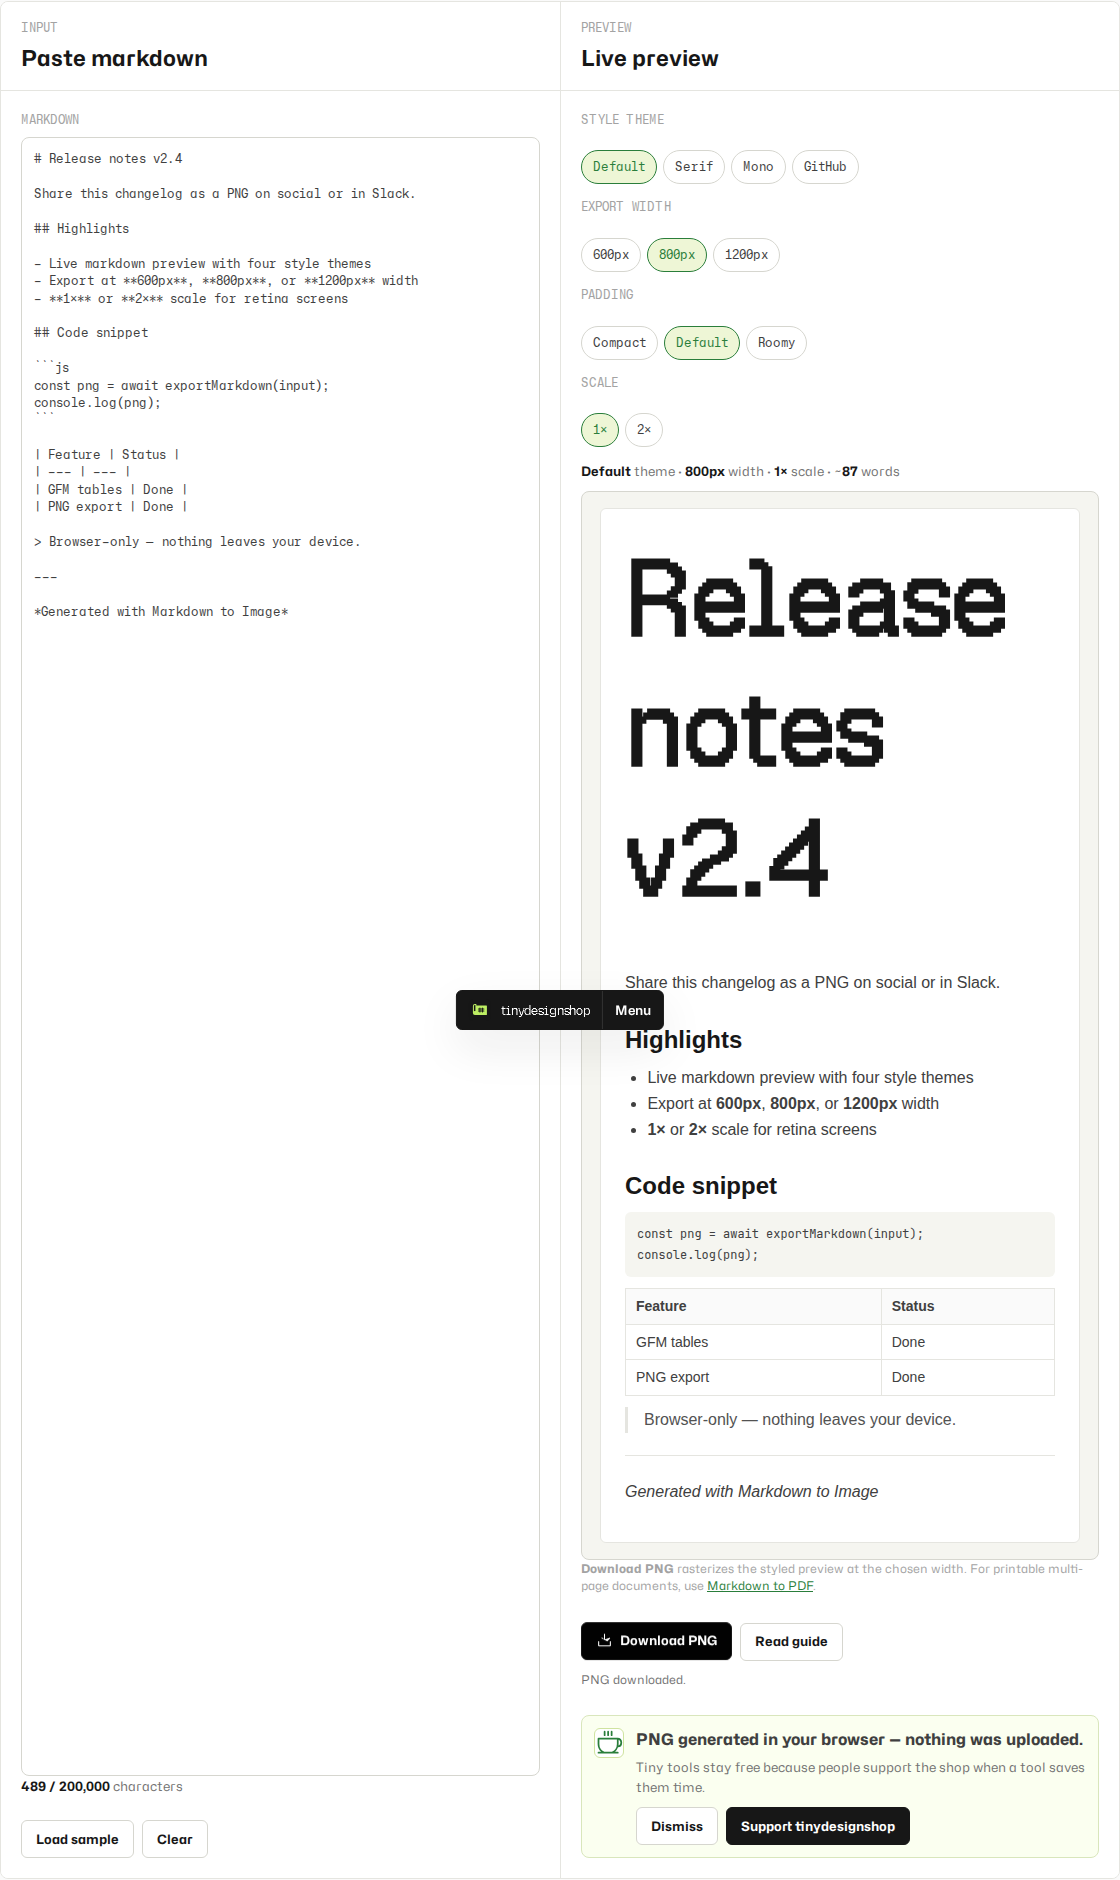
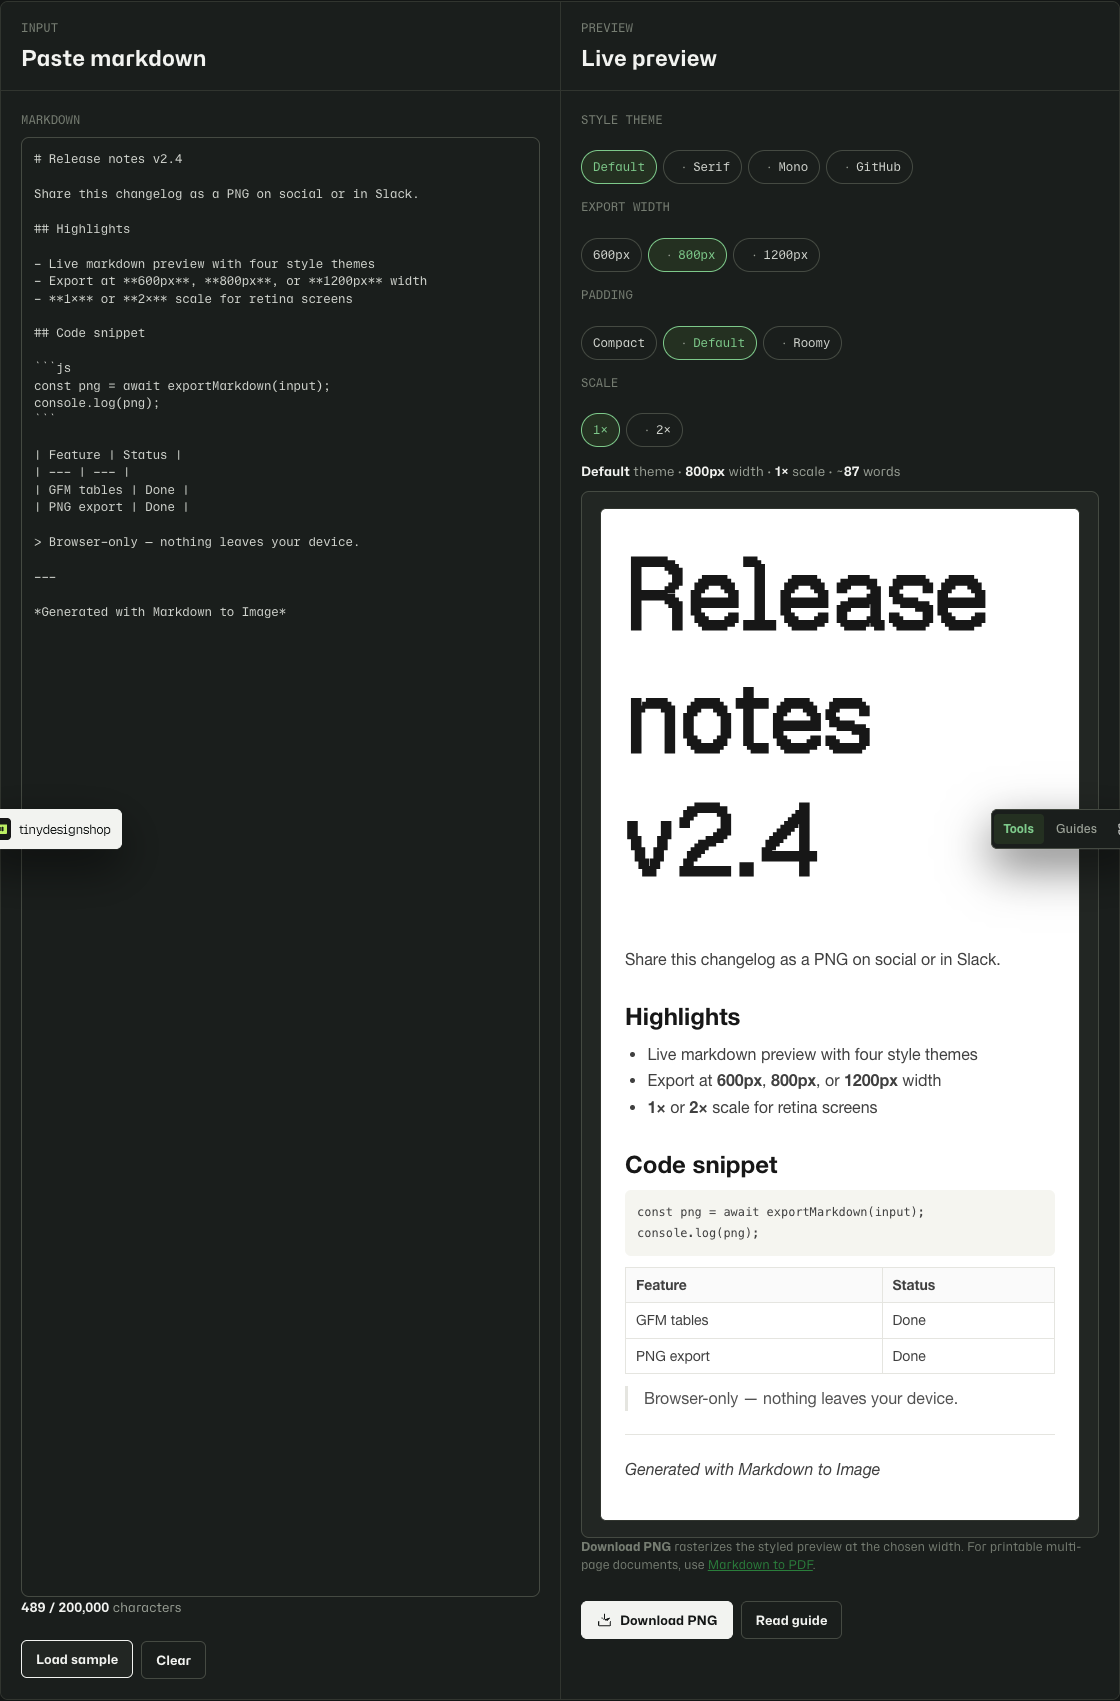
Markdown to Image with sample markdown rendered and ready to download as PNG
Load sample or paste your own markdown, pick a theme and width, then download the PNG.

四種可分享主題。

  • Default — 系統無襯線字體,適合規格說明和一般文件的預設值。
  • Serif — Georgia 襯線字體,帶有懸掛引用區塊,適合報告和提案。
  • Mono — 全等寬字體,約 65 個字元寬,有打字機紙張的感覺。
  • GitHub — README 風格系統無襯線字體,h1/h2 有底線,GitHub 連結藍色。

瀏覽器 PNG 匯出的預期效果。

  • v1 版本匯出僅支援 PNG — 無 JPEG、WebP 或 SVG 下載。
  • 圖片高度為自動 — 隨內容增長;沒有固定的畫布高度。
  • 嵌入圖片僅在 Markdown 已包含 data URL 時有效。v1 不會擷取遠端圖片 URL。
  • PNG 輸出使用您的瀏覽器點陣引擎 — 在 Chrome、Edge 和 Safari 之間外觀可能略有差異。

僅限瀏覽器本地。

您的 Markdown 保存在您的裝置上。渲染和 PNG 生成完全在您的瀏覽器中執行。工具僅將您的最後一次草稿和主題選擇儲存在此瀏覽器的本地儲存中。不會向 Tiny Design Shop 伺服器傳送任何資料。

常見問題

Markdown to Image是做什麼的?

Paste markdown, preview styled output live, and download a shareable PNG in one click. 在瀏覽器內執行 — 不會上傳至 Tiny Design Shop 伺服器。

How do I convert markdown to PNG for free?

Paste markdown into Markdown to Image, pick a style theme and width, preview the rendered output live, and click Download PNG. Everything runs in your browser — no upload, no account, and no install.